Wendell Folks RV-8 Project - Page 10.
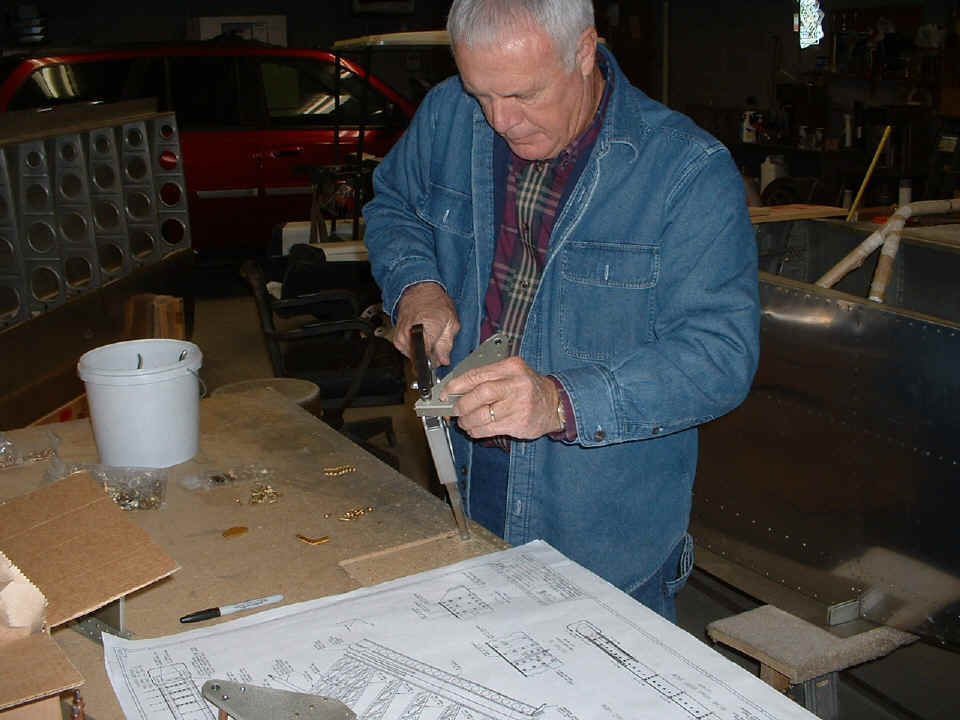
December 19, 2005: Wendell finished priming
the to remaining wing skins, the aileron and elevator push rods, and all the parts for the
aileron mounting brackets. He is riveting the brackets together in this photo.
The aileron brackets for the RV-7/8 wing go on the same way mine did on the
RV-9A wing.
After the aileron brackets are fully riveted in place on both wings, the
aileron fairings are securely riveted in place.
Before the ailerons could be mounted, some short 6061-T6 aluminum tubing
spacers had to be fabricated to the correct lengths. You can see some of the details
of how that was done using the drill press
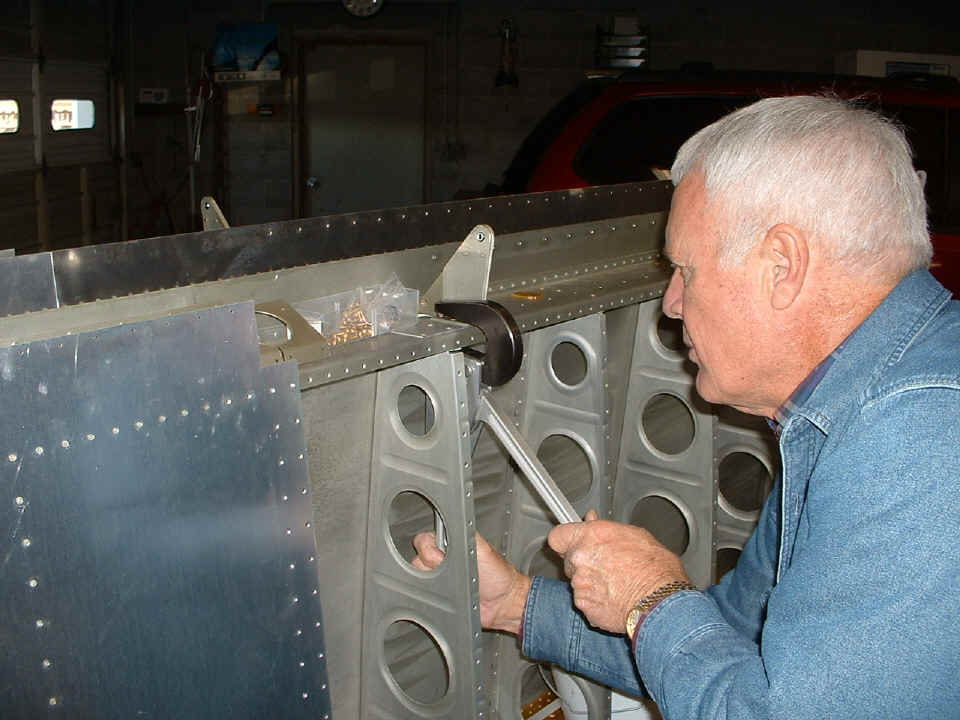
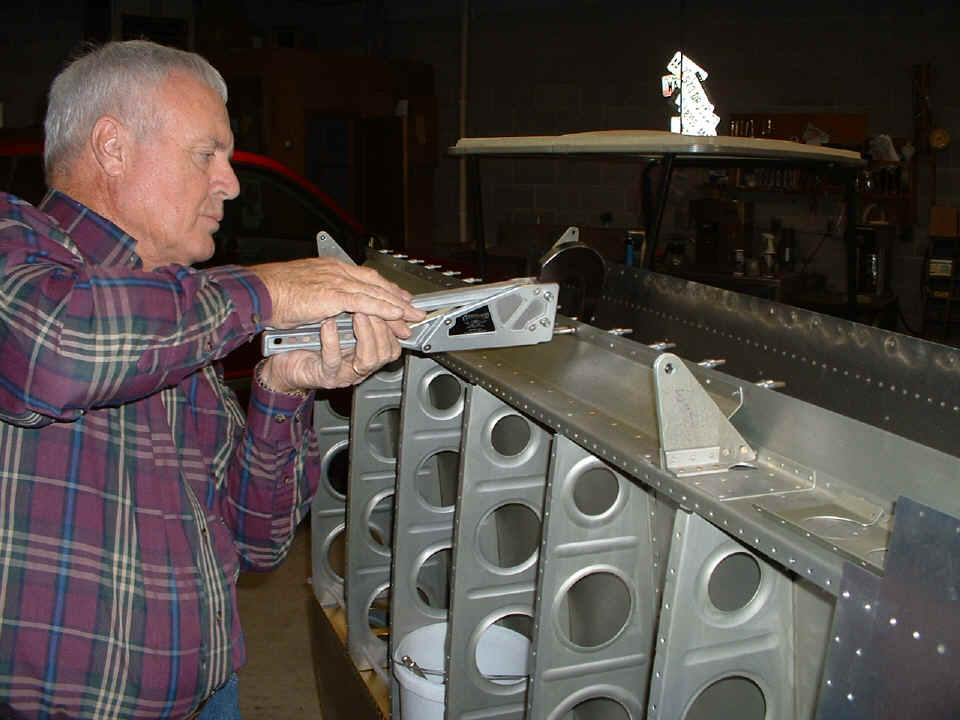
and a flat file on my PAGE 78. The last thing accomplished today was the
installation of the steel aileron push rod from the aileron bellcrank to the RIGHT
aileron. I showed Wendell how the aileron alignment jig sets the bellcrank before
the aileron rod length is adjusted to center the trailing edge of the aileron to the wing
chord centerline.
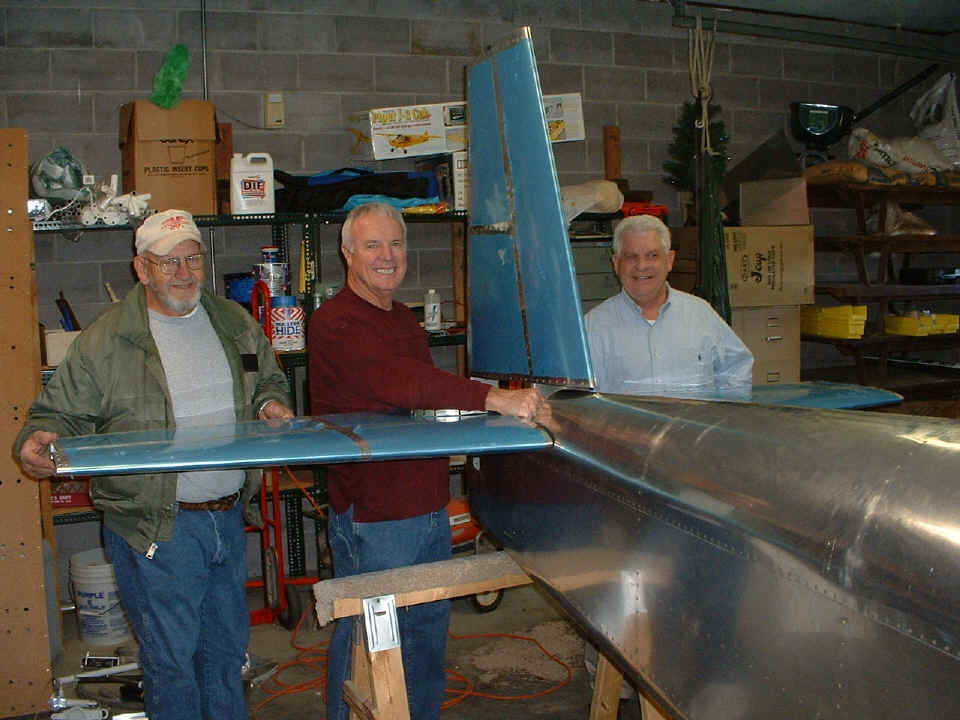
December 20, 2005:
Wendell had other RV builder visitors at his shop today. James Forester (left) and
Larry Champion both came to visit. James has a completed RV-8 that is flying.
He offered us knowledge of some areas of construction that will be challenging during the
final assembly of the horizontal stabilizer to the fuselage. Larry came over to see
completed portions of the quick-build fuselage since he is working on the standard
kit. He wanted to confirm the installation of several sections of the fuselage and
how those parts are interconnected. Since we were discussing the tail section final
assembly, Wendell thought this group photo would have more impact if we placed the tail
section parts in position for this pix.
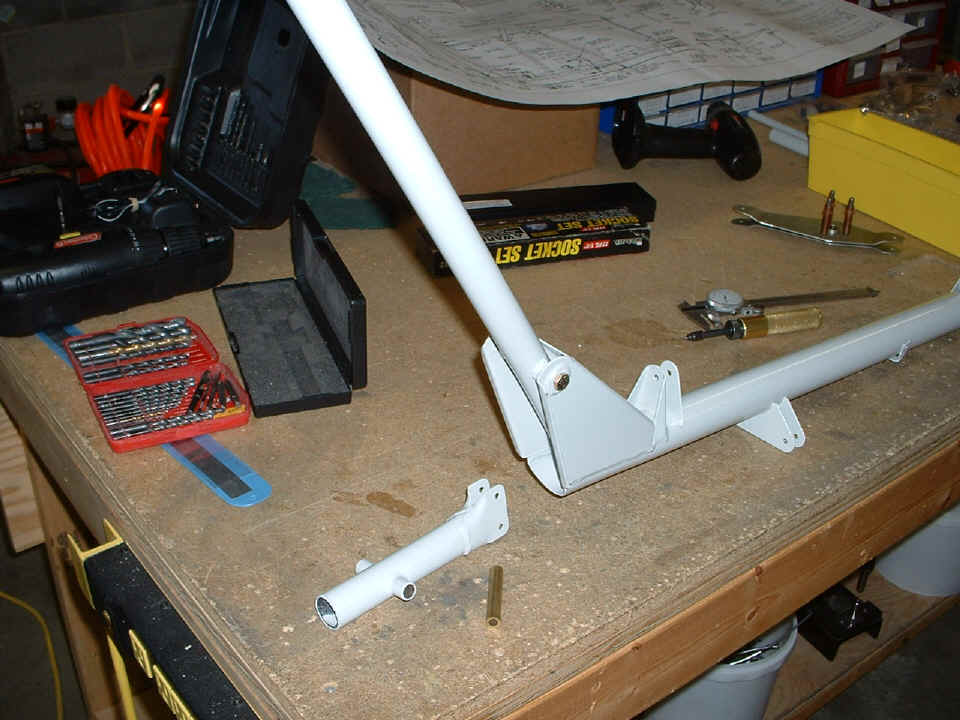
The time consumed during the day was well spent sharing information about
building the RV-8. That did not leave much time to make significant progress in the
day's construction. The control stick assembly was the focus of the small amount of
work done today.
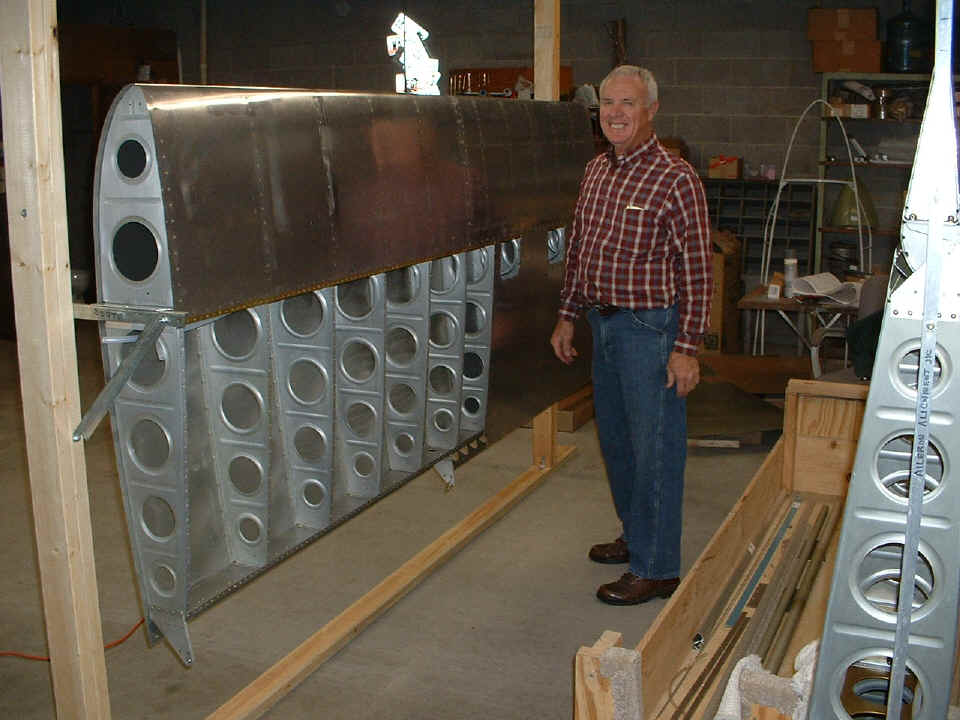
December 21, 2005: Wednesday morning was
spent getting together the parts for the wing jig. It is needed to ease the riveting
of the final wing skin to the quick-build wings. The 10-foot-high ceiling in the
shop required longer 2x4's than I used building my wing jig. When the upright posts
were securely wedged between the concrete floor and the two short boards screwed to a roof
truss, I instructed Wendell on the need to get everything plumb and square as the steel
wing support angles were installed. Right-angle steel braces secure the uprights to
the 2x4 down on the floor and the 1x4 boards that are secured to the roof truss above.
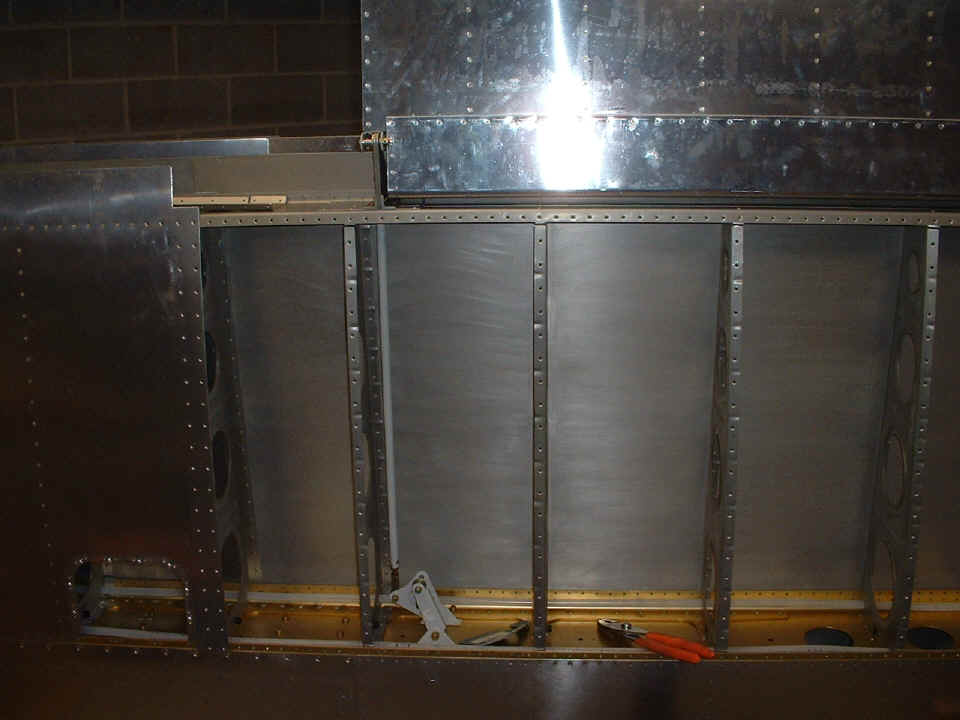
After removing the RIGHT aileron, the right wing was set on the jig and secured at
both ends. Right after this photo was snapped, the remaining wing skin was clecoed
into position from the rear spar upward about 12 inches to demonstrate access during the
riveting steps to come soon.
| CLICK for Folks PAGE 11 | Return to Other RV Menu | Return to Main Menu Page. |